
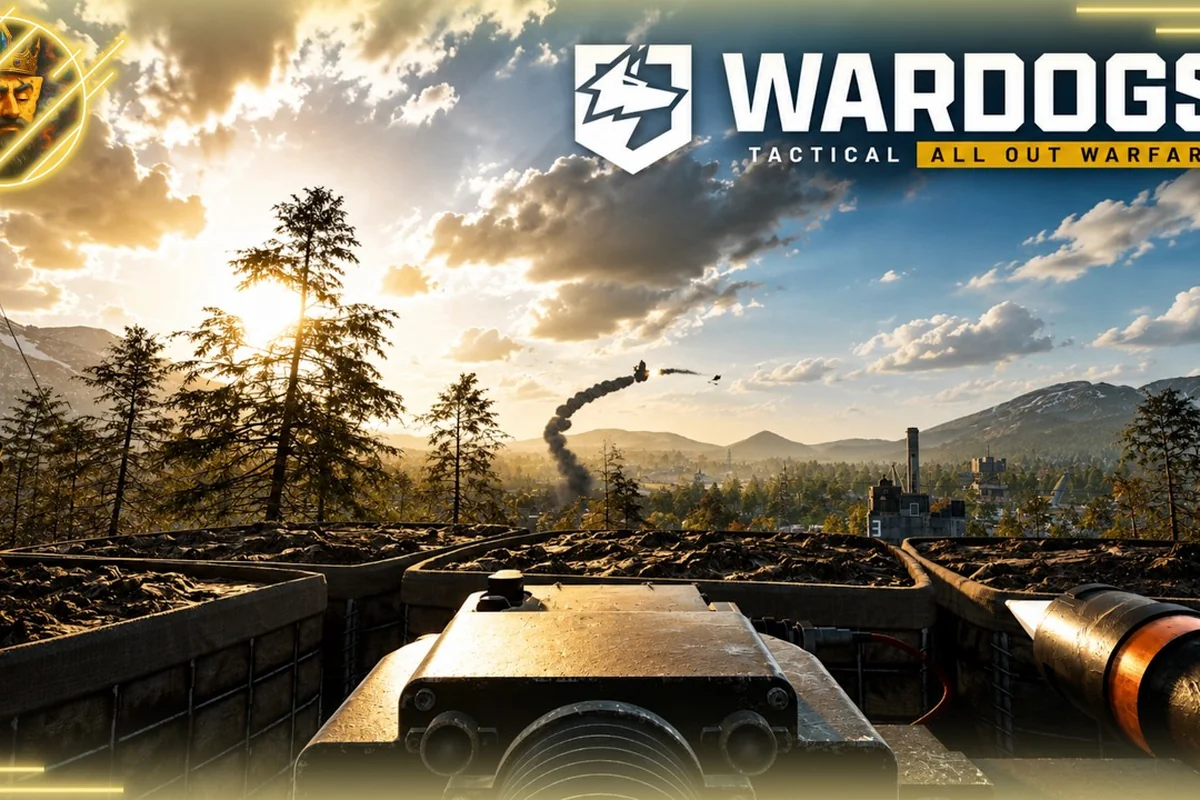
WARDOGS field fortifications can decide whether your squad holds a control zone or gets wiped trying to build one. The difference between a sandbag wall that absorbs a tank shell and a wooden barricade that shatters on impact comes down to three things: what you place, where you place it, and how fast you place it while enemies are already shooting at you. This guide breaks down a practical WARDOGS build order for combat situations, explains how structure health actually works, and gives you barricade placement tactics that hold up under real firefights.
The game's 100-player, three-team format means you rarely get quiet time to construct a base. According to the official WARDOGS Steam page, matches take place on a destructible battlefield where two opposing teams fight over a randomized 2x2km Control Zone within a 256km² map, and the first team to 100 points wins. That means fortifications aren't optional decoration—they're the difference between holding a point for thirty seconds and holding it for three minutes. If you've never thought about WARDOGS structure health or how to prioritize building under fire, this guide gives you a framework that works whether you're solo or coordinating with a squad.
Why WARDOGS field fortifications matter more than raw firepower
| Fortification Type | Build Cost (Cash) | Build Time | Destruction Resistance | Best Use Case |
|---|---|---|---|---|
| Sandbag Wall | 150 | 5s | Low (small-arms fire only) | Rapidly blocking doorways and sightlines during a firefight |
| Hesco Barrier | 400 | 12s | Medium (resists small arms, vulnerable to rockets) | Anchoring a forward operating base (FOB) perimeter |
| Reinforced Bunker | 1,200 | 45s | High (requires multiple tank shells or sustained rocket fire) | Protecting a Control Zone capture point from counter-attacks |
| Tank Trap (Dragon's Teeth) | 600 | 20s | High (blocks vehicle movement, low HP vs. explosives) | Denying main battle tank (MBT) access to a flanking route |
| Ammo Cache | 250 | 8s | Low (destroyed by a single grenade) | Supplying a defensive line to sustain suppressive fire |
WARDOGS field fortifications serve a purpose that goes beyond simple cover. In a game where three teams of up to 100 players fight over a single control zone, the team that controls the best defensive positions usually controls the match. Fortifications give you three concrete advantages: they block line of sight, they absorb incoming damage, and they create chokepoints that funnel enemies into kill zones.
The building system in WARDOGS is designed to be fast but not instant. You can't just snap a full bunker into existence mid-firefight—each structure takes time to construct, and that time is when you're most vulnerable. Community reports from the Closed Beta suggest that a single sandbag wall takes roughly 3-4 seconds to place, while larger structures like watchtowers can take 10-15 seconds or more. That's an eternity when enemy fire is incoming.
Here's what makes fortifications genuinely valuable in WARDOGS: they convert time into survivability when raw firepower can't. A barricade's structure health absorbs the initial volley that would otherwise strip your squad's armor, buying critical seconds for your build order to shift from defensive to offensive. Under sustained fire, a well-placed fortification forces enemy units to waste ammunition and reposition, effectively reducing their DPS without you spending a single round. This trade-off—sacrificing mobility for a damage-mitigation buffer—is what separates a fortified position that holds from a shooting gallery that collapses.
-
Cover from multiple angles: A well-placed barricade protects you from at least one firing lane, letting you focus on a different direction.
-
Structure health as a resource: Every structure has a health pool that absorbs damage before you do—that's free HP for your squad.
-
Zone control: Fortifications slow enemy advances, giving your team more time to capture or defend the objective.
-
Revive protection: A barricade between a downed teammate and the enemy can mean the difference between a successful revive and a squad wipe.
The key insight is that WARDOGS fortifications aren't just about defense—they're about time manipulation. Every second an enemy spends shooting at a sandbag wall instead of your squad is a second they're not capturing the zone. That's why understanding the build order matters so much.
WARDOGS build order: what to place first under fire
When you're building under fire, your WARDOGS build order needs to prioritize speed over perfection. You don't have time to construct the ideal fortress—you need something that works right now, then you upgrade it as the situation allows. Based on community testing and gameplay footage from the Closed Beta, here's the priority sequence that most effective squads use.
Phase 1: Immediate cover (0-10 seconds)
Your first priority is getting something between you and the enemy. This means sandbags or wooden barricades—the cheapest and fastest structures in the game. These won't stop a tank shell, but they'll absolutely stop small arms fire, and that's what you need in the first ten seconds of a firefight.
| Build Priority | Structure | Build Time | Cost | Best Use |
|---|---|---|---|---|
| 1st | Sandbags | ~3-4 seconds | Low | Immediate cover from small arms fire |
| 2nd | Wooden Barricade | ~4-5 seconds | Low | Blocking doorways and narrow paths |
| 3rd | Hesco Barrier | ~6-8 seconds | Medium | Heavy cover that absorbs more damage |
| 4th | Bunker | ~10-12 seconds | High | Defensive strongpoint with firing ports |
| 5th | Watchtower | ~12-15 seconds | High | Overwatch position with elevated sightlines |
Phase 2: Structural reinforcement (10-30 seconds)
Once you have basic cover, you should start reinforcing. This is where WARDOGS structure health really matters—a single sandbag wall has maybe 200-300 HP, but a hesco barrier can have 800-1000 HP or more based on community reports. If you're defending a critical chokepoint, upgrading from sandbags to hesco barriers is worth the extra build time.
Phase 3: Defensive infrastructure (30+ seconds)
If you've held the position for thirty seconds, you probably have breathing room. This is when you build the structures that turn a temporary hold into a permanent defensive line: bunkers with firing ports, watchtowers for overwatch, and ammo resupply points so your squad doesn't run dry.
The critical rule of WARDOGS building under fire is simple: never build something you can't finish. A half-built structure provides no cover and wastes resources. If you're taking fire, finish the cheap structure first, then decide whether to upgrade or relocate. For more detail on the full construction system, the WARDOGS building guide covers everything from resource costs to advanced placement techniques.
Understanding WARDOGS structure health and damage resistance
WARDOGS structure health isn't a single number—it's a layered system that factors in material type, damage source, and placement. For instance, a sandbag barricade absorbs small-arms fire efficiently but crumbles under explosive splash damage from a rocket or mortar, whereas reinforced concrete walls hold firm against blasts but cost more build time and resources. Placement matters just as much: a barricade set on elevated ground or behind natural cover effectively extends its survivability by forcing attackers into exposed kill zones. Understanding this interplay lets you prioritize whether to rush a cheap, replaceable wall under fire or invest in a durable bunker for a critical chokepoint—directly shaping your WARDOGS build order and overall fortification strategy.
Material tiers and their health pools
Every buildable structure in WARDOGS falls into one of three material tiers—light, standard, and heavy—and each tier has dramatically different health characteristics that directly dictate your WARDOGS build order under fire. Based on data gathered from the Steam Early Access build and community testing, here's how the tiers compare: light barricades (e.g., sandbags) typically absorb only a single rocket or grenade blast before collapsing, while heavy fortifications like reinforced concrete bunkers can withstand multiple direct hits from enemy armor, giving you precious seconds to reposition or return fire. This disparity is why experienced players prioritize upgrading their front-line WARDOGS barricades to the heavy tier before expanding their base perimeter, since a collapsed wall mid-engagement often exposes your garrison to flanking fire and forces a costly rebuild during active combat.
| Material Tier | Example Structures | Base HP | Damage Resistance | Repair Speed |
|---|---|---|---|---|
| Light | Sandbags, wooden barricades | 200-400 HP | Resists small arms only | Fast (~2s per hit) |
| Medium | Hesco barriers, reinforced walls | 600-1000 HP | Resists small arms + light explosives | Moderate (~3s per hit) |
| Heavy | Bunker walls, concrete emplacements | 1500-2500 HP | Resists most damage except heavy ordnance | Slow (~5s per hit) |
How damage types interact with structure health
Not all damage is equal when it comes to WARDOGS structure health. Small arms fire chips away at light structures but barely dents heavy ones. Explosives—grenades, rocket launchers, tank shells—deal massive damage to everything but are especially effective against light and medium structures. This creates a rock-paper-scissors dynamic where your fortifications are only as good as your ability to counter the enemy's anti-structure weapons.
-
Small arms fire: Effective against light structures, minimal impact on heavy structures
-
Grenades and explosives: Effective against light and medium structures, moderate impact on heavy
-
Rocket launchers: Very effective against all structures, can one-shot light fortifications
-
Tank shells: Devastating against everything—no structure survives direct hits indefinitely
-
Environmental destruction: Buildings and terrain can collapse, damaging nearby fortifications
The practical takeaway is that you need layered defense. A single line of sandbags will get shredded by an enemy with a rocket launcher. But if you place sandbags in front of a hesco barrier, the sandbags absorb the first hit, and the hesco barrier absorbs what's left. That extra layer can buy your squad precious seconds. The WARDOGS base building guide goes deeper into how the destruction system works and how to counter enemy anti-structure tactics.
Repairing damaged fortifications
WARDOGS structure health isn't permanent—you can repair damaged structures, but only if you have the right tools and enough time. Repairing is slower than building from scratch in some cases, so you need to make a judgment call: repair the damaged structure or build a new one behind it.
Community reports suggest that repair speed scales with structure size—small sandbags repair in about 2 seconds per hit, while bunker walls take 5 seconds or more. If you're under sustained fire, repairing is usually a losing proposition. Build new cover instead and repair only when you have a lull in combat.
WARDOGS barricades: placement tactics that actually work
WARDOGS barricades are the most versatile fortification in the game, but only if you place them correctly. A barricade in the wrong spot is worse than no barricade at all—it blocks your own sightlines, funnels enemies into unexpected paths, and wastes resources you could have spent elsewhere.
Chokepoint denial
The most effective use of WARDOGS barricades is denying enemy access to chokepoints. Doorways, narrow alleys, bridge crossings, and stairwells are all natural funnels where a single barricade can block an entire squad's advance. Place the barricade so that it forces enemies to either destroy it (wasting time and ammunition) or take a longer route (giving your team more time to reposition).
Angle denial and sightline blocking
Barricades aren't just for blocking movement—they're for blocking vision. If an enemy sniper has a clean sightline to your position, a well-placed barricade can cut that sightline entirely. This is especially valuable in WARDOGS because the game's destructible environment means sightlines change constantly. A barricade that blocks a window or a gap in a ruined wall can force the enemy to reposition, which gives your team the advantage.
The "false cover" trap
One advanced tactic reported by experienced players is the false cover trap. Place a barricade that looks like good cover, but position it so that enemies who hide behind it are exposed to fire from a different angle. This works because players instinctively seek cover when taking fire—if the only available cover is your trap, they'll run right into it.
Place barricades where the enemy's approach vector is already constrained by terrain or pre-existing structures—chokepoints between cliff faces, the narrow ramp leading into your main base, or the gap between two pre-placed supply depots. A barricade sitting in open ground with multiple flanking routes is "false cover": it funnels your own units into a kill zone while the enemy simply walks around it. For WARDOGS build order efficiency, place barricades only after scouting the enemy's likely attack lane, and always pair them with a second layer of fortifications (trenches or walls) at least 3 tiles back, so that when the first barricade breaks under fire, your structure health investment isn't wasted in a single breach.
-
Always angle barricades slightly—a perfectly straight barricade is easier to hit with explosives
-
Leave gaps for your own firing lanes—don't block your squad's ability to shoot back
-
Stack barricades in depth—two lines of barricades are much harder to breach than one
-
Use the environment—place barricades against walls or ruins to create sealed positions
-
Plan for destruction—assume every barricade will eventually be destroyed and have a fallback position
For a full breakdown of every structure type and where to place them, the WARDOGS buildable structures guide covers sandbags, bunkers, watchtowers, and more with placement recommendations for each map type. That guide also details how the "false cover" trap works in practice: a sandbag wall that looks like a solid firing line but is intentionally left with a one-block gap on the flank, letting enemy AI pathfind into a kill zone where your bunker's MG-42 has a clear 180-degree arc. It further breaks down structure health values (e.g., reinforced sandbags absorb 450 damage versus 300 for standard) so you know exactly which fortifications can survive a mortar barrage while you reposition, and which map types favor watchtower overwatch over ground-level bunkers for early-game defense.
Building under fire: surviving the construction window
WARDOGS building under fire is the most dangerous activity in the game—you're completely vulnerable while placing structures, and enemies know it. The best fortifications in the world don't help if you die before finishing them. Here's how to survive the construction window.
The buddy system
Never build alone. Have one squadmate cover you while you build, then swap roles. This is the single most effective way to build under fire—the covering player suppresses enemies while the builder focuses on placement. Communication is critical here, which is why the game's local VoIP support is so valuable for coordinated squads.
Build from cover
Always start building from behind existing cover. If you're in the open, you're dead. Position yourself so that the structure you're building blocks the enemy's line of sight to you as it goes up. This means building from the side or behind the structure, not in front of it.
Use smoke and suppression
Smoke grenades are your best friend when building under fire. A well-placed smoke screen blocks enemy sightlines and gives you 5-10 seconds of safe construction time. Combine smoke with suppressive fire from your squad, and you can build even in the most exposed positions.
Prioritize speed over quality
When you're under fire, don't try to build the perfect fortress. Build the fastest structure that gives you cover, then upgrade later. A sandbag wall that goes up in 3 seconds is worth more than a bunker that takes 12 seconds and gets you killed halfway through.
Know when to abandon
Sometimes the right call is to abandon the build entirely. If you're taking heavy fire and the structure is only halfway done, retreat and reposition. A half-built structure is useless, and dying wastes more time than retreating. Live to build another day—that's the mindset that keeps good builders alive.
Frequently Asked Questions
What is the fastest WARDOGS fortification to build?
Sandbags are the fastest WARDOGS fortification, taking roughly 3-4 seconds to place based on Closed Beta testing. They provide basic cover from small arms fire and are the best choice when you need immediate protection. Upgrade to hesco barriers or bunkers once you have breathing room.
How much damage can WARDOGS structures take?
WARDOGS structure health varies by material tier. Light structures like sandbags have roughly 200-400 HP, medium structures like hesco barriers have 600-1000 HP, and heavy structures like bunker walls have 1500-2500 HP. Explosives and tank shells deal significantly more damage than small arms fire.
Can you repair damaged fortifications in WARDOGS?
Yes, you can repair damaged fortifications, but repair speed varies by structure size. Small structures repair in about 2 seconds per hit, while large structures take 5 seconds or more. Under sustained fire, building new cover is usually faster than repairing existing structures.
What is the best WARDOGS build order for defending a control zone?
Start with sandbags or wooden barricades for immediate cover, then upgrade to hesco barriers for structural reinforcement, and finally build bunkers or watchtowers if you have time. Always prioritize speed over perfection when building under fire, and have a squadmate cover you during construction.
How do I counter enemy fortifications in WARDOGS?
Rocket launchers and tank shells crack heavy fortifications fastest, but grenades shred light barricades cheaply. Use WARDOGS' destruction system to collapse buildings onto sandbag lines, or flank wide when enemies over-commit to one chokepoint. Prioritize destroying their ammo cache first—it forces a rebuild under fire.