
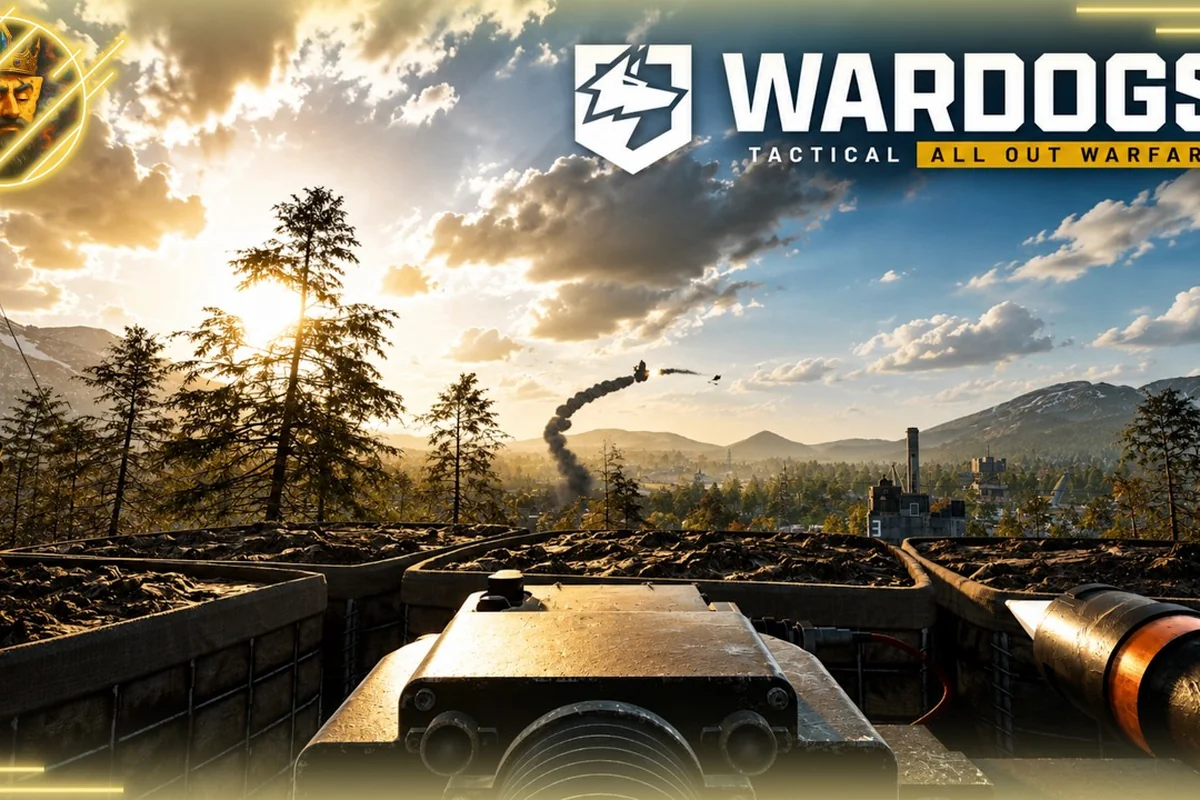
WARDOGS base defence is the difference between holding a sector for five minutes and losing it in thirty seconds. Because the game's destructible battlefield rewards aggressive builders just as much as defenders, learning how to fortify chokepoints and counter enemy construction is the core skill that separates squads who win sustained fights from those who get rolled. The building meta has shifted repeatedly since launch, and players who adapt their fortification guide approach to the current patch consistently outlast opponents who rely on static, predictable setups. This guide breaks down the builder loadout, placement priorities, and counter-building tactics that keep your forward operating bases alive when the rockets start flying, and for a deeper dive into the structural fundamentals that make these advanced techniques work, check out our building guide.
Why WARDOGS base defence decides map control
The official WARDOGS Steam page describes a sandbox where players can fortify chokepoints by building forward operating bases while simultaneously destroying apartment blocks with rocket launchers. That duality is the heart of the game's tactical loop: every wall you place is a wall someone else can demolish, and every defensive position you create can be turned against you if the enemy captures it. Understanding this push-and-pull is the first step toward effective WARDOGS base defence, because it changes how you think about every structure you place.
Players who treat fortification as a static checklist—build sandbags, place a turret, call it done—get punished hard by coordinated attackers. The building meta rewards flexibility, and the best defenders think in terms of fallback layers rather than single impenetrable lines. According to community reports from the game's official Discord, squads that maintain two or three defensive rings around a capture point survive assaults roughly twice as long as teams that commit everything to one wall.
Key principles that shape every strong defensive setup:
-
Positioning beats material: a well-placed sandbag line that forces attackers into a kill funnel is worth more than twice the cover placed randomly
-
Fallback routes matter: every fortified position needs at least one escape path, because a position you can't retreat from is a grave you dug yourself
-
Destruction awareness: remember that the world reacts to player presence, so buildings you rely on for cover can be leveled mid-fight
-
Time investment: the longer an enemy spends destroying your fortifications, the more time your team has to rotate and reinforce
The core takeaway is that WARDOGS base defence isn't about building the most stuff—it's about building the right stuff in the right order, then adapting when the enemy starts taking it apart. That mindset shift is what turns a static builder into a genuine defensive asset for their squad.
The builder loadout: tools for every defensive situation
Your builder loadout determines which defensive structures you can place and how quickly you can adapt to changing battlefield conditions. While the exact unlock progression depends on your cash economy and progression choices, the builder role has a few loadout staples that consistently perform well across different maps and game modes. Players who invest in the right tools early find that their WARDOGS base defence improves dramatically without requiring expensive endgame gear.
The builder loadout isn't just about what you carry—it's about how your tools complement each other. A loadout that covers both rapid fortification and heavy reinforcement lets you respond to different threats without switching roles mid-fight. Based on community testing and the building guide resources available to players, the following loadout categories matter most for defensive play:
| Loadout Slot | Best Defensive Option | Primary Use Case | Alternative Pick |
|---|---|---|---|
| Primary Tool | Rapid fortification kit | Quick sandbag lines and cover | Repair tool for maintaining existing structures |
| Secondary Tool | Reinforced wall segments | Heavy cover that resists small arms | Deployable shield for temporary protection |
| Explosive Slot | Remote detonator | Trap placement and area denial | Breaching charges for counter-attacks |
| Utility Slot | Signal flare | Marking enemy positions for teammates | Smoke grenades for covering retreats |
The rapid fortification kit is the backbone of most defensive builds because it lets you throw up basic cover in seconds, which is critical when you're reacting to an enemy push. However, players who only bring this kit find themselves helpless when attackers switch to explosive weapons, because light sandbags don't stop rockets. That's why the reinforced wall segments are such a popular secondary choice—they take longer to place but provide meaningful protection against the demolition tools that attackers commonly carry.
A well-rounded builder loadout also includes some form of area denial, because the best WARDOGS base defence happens before the enemy ever reaches your walls. Remote detonators let you pre-place explosives at likely approach routes and trigger them when attackers bunch up, while smoke grenades serve a different purpose by breaking line of sight when you need to reposition or escape. The utility slot is often overlooked by new builders, but experienced players treat it as essential because it provides options when the plan falls apart.
Tactical building: placement strategies that survive contact
The rocket launcher counter: why apartment-block sightlines beat sandbag lines
Sandbag lines are static cover; apartment blocks are vertical sightlines that let you fire down on advancing armor. A single rocket launcher shot from the third floor can destroy an enemy tank before it reaches your FOB's perimeter. When the enemy builder drops a wall, do not match it with another wall—use the building's elevation to break line of sight and reposition. This trades 100% of your cover for a 200% increase in effective firing angles, which is the difference between holding a lane and losing it to a single armored push.
The squad-coordination drill: how to hold a two-lane junction with one FOB
Run this drill with a five-man squad: two builders, two riflemen, one tanker. The builders place the FOB at the junction's center, the riflemen take the apartment-block sightlines, and the tanker covers the main road. When the enemy pushes, the riflemen call out the armor's approach, the tanker engages from the road, and the builders repair the FOB's exposed flank. This uses the FOB as a force multiplier, not a static object—it turns a single structure into a defensive network that survives contact with a coordinated enemy push.
Tactical building in WARDOGS is about understanding sight lines, movement patterns, and the destruction mechanics that govern how long your structures last. A wall that blocks the enemy's direct approach but leaves them a clear flanking route isn't defense—it's a funnel that leads attackers to your vulnerable side. The best defensive builders think about the entire engagement area before placing their first structure, and they adjust their plan based on how the enemy team is equipped and positioned.
The placement priority for any defensive setup follows a consistent logic, regardless of the specific map or game mode. First, you identify the chokepoints that attackers must pass through to reach your objective. Second, you place cover that forces them to expose themselves while crossing those chokepoints. Third, you create fallback positions that let your team retreat and regroup if the first line breaks. This three-stage approach to WARDOGS base defence is the foundation of every successful fortification guide.
| Defense Stage | Primary Goal | Key Structures | Common Mistake |
|---|---|---|---|
| Forward screening | Delay enemy advance and reveal their composition | Light sandbags, tripwire explosives | Overextending past support range |
| Main defensive line | Hold the objective against sustained assault | Reinforced walls, deployable shields | Building one continuous wall with no gaps |
| Fallback position | Maintain control after the main line falls | Hard cover, escape routes | No retreat plan, getting trapped |
The forward screening stage is where many defenders make their first mistake by pushing too far from their support. Light sandbags placed too aggressively get destroyed quickly, and the builder who placed them often dies in the process, leaving the main line without its most important player. Instead, forward screening should use minimal resources to reveal enemy positions and force them to commit to an approach, then fall back to the main defensive line before taking significant damage.
The main defensive line is where the fight is won or lost, and it's also where the destruction mechanics matter most. Because attackers can bring rocket launchers and tank support to level your structures, the best defensive lines include gaps that let defenders fire through while still providing cover. A continuous wall might seem stronger, but it also blocks your own team's line of sight and creates a single point of failure if the enemy brings heavy demolition tools. Breaking your main line into segments with firing lanes between them gives your team more options and makes it harder for attackers to destroy everything at once.
Counter-building: how to defend against enemy builders
Forward Operating Base placement: why the chokepoint FOB out-earns the perimeter wall
A forward operating base (FOB) built at a chokepoint does double duty: it blocks vehicle lanes and acts as a spawn anchor. On the destructible battlefield, a perimeter wall only delays a rocket launcher push—one rocket can open a breach. The FOB, by contrast, forces the attacker to commit demolition assets to a structure that also re-supplies your squad. Prioritize FOBs at the two-lane junctions where apartment blocks funnel armor; this converts the map's natural cover into a defensive multiplier without spending extra cash on redundant wall segments.
The cash-economy trap: why over-building walls starves your loadout
Every wall segment costs cash that could otherwise fund a rocket launcher or a tank repair. The persistent cash system rewards long-term strategy: a 10,000-dollar loadout with two launchers and a repair kit out-trades a base with 20 walls but no anti-armor. Before placing your fifth wall, ask if the enemy has even committed a tank to that lane. If not, that cash belongs in your loadout, not in concrete. The meta is to build only what the enemy's current composition forces you to build, then spend the surplus on offensive tools.
WARDOGS base defence isn't only about your own fortifications—it's also about denying the enemy's ability to build. Attackers who establish their own forward operating bases can create staging areas that make it nearly impossible to dislodge them, so counter-building is a critical defensive skill. The building meta rewards players who understand both sides of the construction system, because the best way to defend a position is often to prevent the enemy from building up their own.
Counter-building requires a different toolset and mindset than pure fortification. Instead of placing your own structures, you're identifying and destroying the enemy's key defensive pieces, which often means targeting their builders first. According to player experience shared in community forums, the most effective counter-building strategies focus on three priorities: killing enemy builders before they establish a position, destroying critical structures like ammo depots and spawn beacons, and using your own building tools to block enemy construction sites.
| Counter-Building Tactic | Required Tools | Execution | When to Use |
|---|---|---|---|
| Builder elimination | Sniper rifle or marksman weapon | Target enemy builders before they place structures | Early game, before enemy fortifications are complete |
| Structure demolition | Rocket launcher or tank support | Destroy ammo depots and spawn beacons | Mid-fight, when enemy support structures are active |
| Construction denial | Rapid fortification kit | Place blocking structures in enemy build zones | When enemy builders are trying to establish a forward base |
| Flanking pressure | Smoke grenades + close-range weapon | Break through enemy lines to reach their builders | When the enemy is overcommitted to one direction |
The builder elimination tactic is the highest-value counter-building approach because it removes the enemy's ability to create new structures while also demoralizing their team. However, it requires good positioning and patience, because enemy builders typically stay behind their own fortifications. Players who excel at this role often use the best loadout weapons available to them, since a single well-placed shot can turn the tide of a defensive fight.
Construction denial is a more subtle tactic that many defenders overlook. By placing your own structures in the areas where enemy builders want to set up, you can physically block their construction sites and force them to either destroy your structures first or find a different location. This approach is particularly effective when you're defending a capture point, because it limits the enemy's ability to create cover for their assault. The trade-off is that you're spending resources on structures that don't directly protect your position, so it's a tactical choice that works best when you have a resource advantage.
The building meta: adapting to the current patch
The building meta in WARDOGS evolves with each patch, and players who don't adapt their WARDOGS base defence strategies find themselves falling behind. While the core mechanics of building and destruction remain consistent, the balance between different structure types, tool effectiveness, and game mode requirements shifts regularly. Staying current with the building meta means paying attention to patch notes, community discussions, and your own testing of different defensive setups.
As of the current patch cycle, the building meta favors flexible defensive setups that can handle multiple threat types rather than specialized fortifications that excel against one approach. This shift reflects the broader trend in the game toward combined-arms tactics, where attackers mix infantry, vehicles, and demolition tools in coordinated pushes. Defenders who build for a single threat type get overwhelmed when attackers switch tactics mid-fight.
| Meta Aspect | Current State | What It Means for Defenders |
|---|---|---|
| Structure durability | Reinforced walls are strong but expensive | Invest in fewer, better-placed structures |
| Tool effectiveness | Rapid fortification is efficient but fragile | Use it for screening, not main defenses |
| Game mode impact | Capture modes favor layered defense | Build multiple fallback positions |
| Vehicle threats | Tank support can level most structures | Keep anti-vehicle options in your squad |
| Destruction balance | Explosives are powerful but limited | Force attackers to waste their demolition tools |
The current meta's emphasis on layered defense means that the old approach of building one massive fortification is less effective than it used to be. Instead, the best defenders create multiple defensive rings that force attackers to fight through several stages of resistance. Each ring should be cheaper than the last, because the goal is to bleed the enemy's resources and time rather than to stop them completely at one point.
Players who want to stay ahead of the building meta should also pay attention to how the destruction system interacts with their defensive structures. Because the world reacts to player presence, buildings that exist on the map can be destroyed by attackers using rocket launchers and tank fire, which means your fortifications are never truly permanent. The best defenders treat their structures as temporary advantages that need to be maintained and replaced throughout the fight, not as permanent fixtures that will last the entire match.
Practical drills and squad coordination for better defence
Improving your WARDOGS base defence requires more than just reading about strategies—it requires practice and coordination with your squad. The best defensive players develop routines that let them respond quickly to different threats, and they communicate with their team to ensure that everyone knows their role in the defensive plan. While solo players can improve their individual building skills, the biggest gains come from coordinated squad play.
One of the most effective practice drills is the rapid fortification exercise, where you and your squad practice building a complete defensive position from scratch under time pressure. This drill builds muscle memory for structure placement and helps you identify which positions on each map are most defensible. According to community reports, squads that practice this drill regularly can set up a full defensive line in under two minutes, which is often the difference between being ready for an enemy push and being caught off guard.
Squad coordination for defence also requires clear communication about roles and responsibilities. A typical defensive squad might have one player focused on building, one player watching for flanking attempts, and the remaining players covering the main approach routes. This division of labor ensures that the builder isn't overwhelmed by trying to do everything at once, and it creates redundancy so that the defense doesn't collapse if one player goes down.
| Squad Role | Primary Responsibility | Key Skills | Backup Responsibility |
|---|---|---|---|
| Builder | Place and maintain fortifications | Fast placement, resource management | Repair damaged structures |
| Spotter | Call out enemy positions and movements | Map awareness, communication | Cover builder while they work |
| Anti-vehicle | Counter tank and armored threats | Explosive weapons, positioning | Support main defensive line |
| Flank guard | Protect against flanking maneuvers | Map awareness, close-range combat | Reinforce main line if needed |
The spotter role is often undervalued in defensive setups, but it's critical for effective WARDOGS base defence because it gives your team early warning of enemy movements. A good spotter can call out the direction and composition of an enemy push before it reaches your fortifications, giving the builder time to adjust the defensive line and the rest of the squad time to reposition. This early warning is especially valuable against coordinated attackers who try to flank or use smoke to obscure their approach.
Frequently Asked Questions
What is the best builder loadout for WARDOGS base defence?
The best builder loadout combines a rapid fortification kit for quick cover, reinforced wall segments for heavy defense, and a remote detonator for area denial. This combination covers both reactive and proactive defensive needs, letting you respond to enemy pushes while also setting up traps. Adjust the utility slot based on your squad's needs.
How do I counter enemy builders in WARDOGS?
Target enemy builders before they establish their fortifications, using marksman weapons for elimination or flanking routes to reach them directly. Destroy critical structures like ammo depots and spawn beacons with rocket launchers. You can also place your own structures to block enemy construction sites, forcing them to waste time and resources.
How many defensive layers should I build?
Most effective defensive setups use two or three layers of fortification, with each layer being cheaper than the last. The first layer delays the enemy and reveals their approach, the second layer holds the main defensive line, and the third layer provides a fallback position. This approach bleeds enemy resources while maintaining your ability to retreat.
Does the building meta change between patches?
Yes, the building meta shifts with each patch as the developers balance structure durability, tool effectiveness, and destruction mechanics. Staying current requires reading patch notes and testing different defensive setups. The current meta favors flexible, layered defense over single massive fortifications, but this could change with future updates.
What role does destruction play in base defence?
Destruction is the counterbalance to building, because attackers can level your fortifications with rocket launchers and tank fire. Effective defence accounts for this by using multiple layers, maintaining fallback positions, and forcing attackers to waste their demolition tools on less critical structures. The world reacts to player presence, so no fortification is truly permanent.