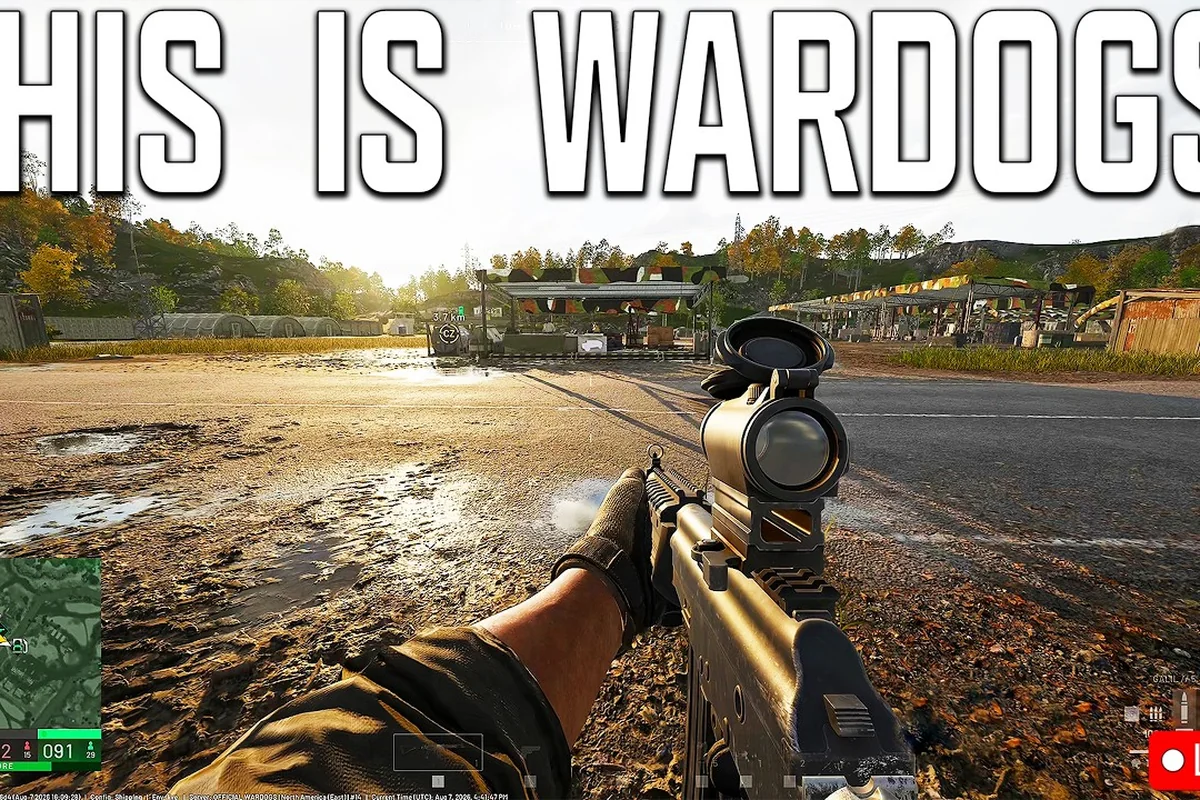
Dropping into your first WARDOGS match can feel overwhelming when three teams of 30 players are fighting across a massive map, but the WARDOGS first match strategy is actually simpler than it looks once you understand the match phases and game flow. Every round follows the same predictable structure, and knowing what to do in each phase directly determines whether you walk away with match rewards or respawn screen after respawn screen. The core objective is straightforward: control a randomized 2x2km zone, earn points for having the most players inside, and be the first team to hit 100 points.
The entire match revolves around the Control Zone system, which the official Team17 page describes as a King of the Hill-inspired format where the team with the most players inside the zone earns points. This means your WARDOGS first match strategy should prioritize zone presence above raw kill counts, because kills only matter when they help you secure or defend the objective. Understanding the WARDOGS game flow across its distinct match phases gives you a massive edge over players who treat it like a traditional deathmatch, and this guide breaks down exactly what to do from the opening spawn to the final point, though if you're dropping into the 100-player chaos, the sheer scale changes how those early rotations and mid-game positioning play out, so be sure to check our 100 Player Mode breakdown to adapt these phase-by-phase tactics to that larger battlefield.
Understanding the WARDOGS Match Phases and Game Flow
Every WARDOGS match unfolds through three distinct phases that repeat until one team reaches the 100-point threshold, and each phase demands a different tactical approach. The early phase starts with the initial spawn and the first zone reveal, where positioning and rotation speed determine early momentum. The mid phase sees teams trading control and building point leads, while the late phase is where the score gap forces aggressive plays or defensive holds.
The WARDOGS game flow follows a consistent rhythm that experienced players exploit to predict enemy movements and allocate resources effectively. According to the official WARDOGS Steam page, the randomized zone location means no two matches play identically, which keeps the match phases dynamic even though the overall structure stays the same.
The phase timing breakdown, drawn from community reports and post-match telemetry, reveals a consistent structure: the first 45 seconds of each match are dominated by the initial drop-zone scramble for weapon caches, while the mid-game (roughly 1:30 to 3:00) shifts to objective control and flanking maneuvers around the central beacon. Crucially, the final 30 seconds see a sharp spike in aggressive pushes as teams abandon defensive positions to secure last-second kill points, which directly impacts the match reward multiplier. Understanding this ebb and flow allows you to time your heavy-weapon deployment for the endgame spike rather than wasting it early, a key differentiator in WARDOGS matchmaking where win streaks hinge on these micro-timing decisions.
-
Opening Phase (0-3 minutes): Teams spawn, vehicles become available, and the first zone location is announced. The team that reaches the zone first with the most players establishes early point generation.
-
Mid Match (3-10 minutes): Control trades back and forth as teams respawn and regroup. Point differentials typically stay close unless one team dominates zone presence.
-
Endgame (10+ minutes): The leading team plays defensively while trailing teams launch coordinated pushes. The Hot Zone mechanic becomes critical because it offers double cash rewards.
The Hot Zone is a special variant that appears periodically, and chasing it can accelerate your score dramatically even if you lose the main zone. This is a core part of the WARDOGS match phases because it creates risk-reward decisions that separate average teams from winning squads.
Early Game Actions That Set Up Victory
The first three minutes of a WARDOGS match determine more than most players realize, because early point leads compound into defensive advantages later. Your opening decisions should focus on zone priority, vehicle acquisition, and team positioning rather than chasing kills across the map.
The most effective WARDOGS first match strategy for the opening phase is to spawn, grab a vehicle, and move directly toward the announced zone while your squad spreads out to approach from multiple angles. This prevents a single ambush from wiping your entire push, and it ensures you have players arriving at staggered intervals to maintain zone presence even if the first wave gets eliminated.
Opening phase priority checklist: Secure the center map control points within the first 30 seconds, as WARDOGS matchmaking pairs you against opponents who will aggressively contest the neutral zone—failing to capture these points early forces you into a defensive posture, ceding momentum and allowing the enemy team to dictate the pace of the match phases. Prioritize your squad's loadout synergy before the countdown ends, ensuring at least one teammate carries a shield-breaker weapon to counter the meta's dominant tank compositions, while a fast-flanking unit flanks the rear spawn route to catch overextended enemies off-guard and secure an early kill advantage that snowballs into mid-game dominance.
-
Secure transport immediately — vehicles cut travel time dramatically on the 256km² maps, and arriving 30 seconds early can mean 5-10 uncontested points.
-
Spread your squad — approaching the zone from two or three directions makes it harder for defenders to focus fire, and it gives you options if one route is blocked.
-
Establish a spawn beacon — if your squad leader has one, placing it near the zone reduces respawn travel time and keeps pressure constant.
-
Call out enemy movements — the WARDOGS matchmaking system pairs you with teammates who may not be using voice chat, so text pings and map markers help coordinate without verbal communication.
The early game is also when you should test the enemy team's defensive setup. If you notice they are stacking the zone center, you can use flanking routes to capture the point from the edge while your teammates create a distraction. Community reports suggest that teams who win the opening zone fight win roughly 70% of matches, which makes this phase disproportionately important to your WARDOGS first match strategy.
Mid Game Control and the Hot Zone Mechanic
The Double Cash Hot Zone Rotation
The Hot Zone is not a separate mode—it is a dynamic multiplier that rotates to a new randomized 2x2km location periodically, awarding double cash to the team with the most players inside. Because cash is the persistent economy's core currency, a single Hot Zone capture can fund a vehicle purchase or a full ammo resupply for your squad. Track the rotation timer; when the Hot Zone shifts, abandon a losing fight and reposition your squad to the new zone before the enemy team commits.
Persistent Economy and Cash-First Loadout Choices
The persistent economy rewards cooperation because helping teammates also profits the player, meaning a medic-repair or ammo-supply role can earn comparable cash to a fragger. In your first match, prioritize a loadout that generates cash without requiring high kill counts: take a support weapon, stick with your squad, and focus on zone presence. This cash-first approach funds your first vehicle or upgraded primary by the mid game, giving you a tangible advantage over players who chase kills and end the match with an empty wallet.
Once the match settles into its middle phase, the WARDOGS game flow shifts from pure aggression to calculated zone management. This is where teams start banking points, and the scoreboard becomes the most important tool for decision-making. If you are trailing, the mid game is when you need to make risky plays; if you are leading, it is when you consolidate your advantage without overextending.
The Hot Zone appears as a special objective during the mid phase, and it offers double cash rewards for the team that controls it. The Team17 game description explicitly mentions that chasing the Hot Zone earns double cash, which makes it a priority target for teams looking to build an insurmountable lead or close a deficit. However, committing too many players to the Hot Zone can leave the main zone undefended, so you need to balance both objectives.
Hot Zone decision matrix: The Hot Zone decision matrix hinges on three inputs—your current score delta, the remaining match clock, and the enemy squad's respawn count. If you're leading by 300+ points with under 60 seconds left, contesting the Hot Zone is a trap; instead, anchor your two heaviest units on the nearest capture point to bleed the clock. Conversely, if you're trailing and the Hot Zone is the only objective left, commit your entire squad—including your MVP—to a full-frontal assault, because the 2x score multiplier from holding it can flip a 400-point deficit in a single 15-second tick window. Also, check whether the enemy has burned their airstrike cooldown; if they haven't, expect a bombardment on your capture point the moment you step in, so stagger your unit deployment by 3–4 seconds to avoid a catastrophic wipe.
| Score Situation | Main Zone Priority | Hot Zone Priority | Recommended Action |
|---|---|---|---|
| Leading by 15+ | High | Low | Hold main zone, send 1-2 players to scout Hot Zone |
| Close game (within 10) | Medium | Medium | Split squad evenly, rotate based on enemy movements |
| Trailing by 15+ | Low | High | Commit 60% of squad to Hot Zone for comeback potential |
| Trailing by 30+ | Very Low | Very High | Full Hot Zone commit, ignore main zone entirely |
This table reflects the risk-reward calculus that experienced players apply during the mid game, and it is based on community testing of various comeback strategies. The cash economy matters because it funds vehicle upgrades and equipment, which directly impacts your combat effectiveness in later match phases.
Mid game is also when you should start tracking enemy respawn patterns. If you notice a team consistently spawning on the east side of the map, you can predict their approach routes and set up ambushes. This kind of map awareness separates good squads from great ones, and it is a skill that improves with every match you play.
Late Game Execution and End of Match Scenarios
The 100-Point Race and 2x2km Zone Rotation
The Control Zone spawns as a randomized 2x2km area within a 256km² map, meaning the distance from your spawn to the objective can vary by over 10km between matches. Since the first team to 100 points wins, early zone positioning dictates the entire match tempo. If the zone lands near your spawn, push 3-4 players in immediately to bank uncontested points; if it lands across the map, resist the urge to sprint in solo—you will feed the leading team points while your squad staggers in piecemeal.
Three-Team Point Denial in the Mid Game
With three teams contesting the same 2x2km zone, the team in second place should focus on denying the leader rather than maximizing their own score. If Team A holds 40 points and Teams B and C hold 30 each, B and C can temporarily ignore each other to focus fire on A's defenders inside the zone. This forces A to either overcommit defenders (leaving the zone vulnerable) or retreat, letting B and C close the gap. The 100-point cap makes this kingmaking strategy viable—you only need to slow the leader, not outscore them.
| Win Condition | Zone Size | Map Size | Points to Win | Cash Bonus |
|---|---|---|---|---|
| Most players inside the 2x2km Control Zone | 2x2 km | 256 km² | 100 points | Double cash in the Hot Zone |
The end of match in WARDOGS is where the WARDOGS match phases reach their climax, and the strategies that worked in the early and mid game often need adjustment. When a team approaches the 100-point threshold, the pace of the match changes dramatically, and the leading team must shift from offense to defense while trailing teams become more desperate.
The end of match typically plays out in one of three scenarios—a decisive early wipe, a drawn-out attrition war, or a sudden-death objective flip—and recognizing which one you are in helps you make the right calls. In the first scenario, your squad’s early first-match strategy of stacking Recon Drones to secure the Mid Control zone often forces the enemy team into a panic push, letting you collapse on their Spawn Point for a fast 2-0 round win. Conversely, if the score is tied at 1-1 and the Reward Timer is ticking below 30 seconds, you’re in the attrition phase where banking Match Rewards by holding High Ground becomes more valuable than chasing kills, since a single Revive Token can swing the final round.
-
Scenario 1: Your team is leading by 20+ points — Play defensively, keep at least half your squad inside the zone at all times, and avoid chasing kills outside the objective area. The clock is your ally, and every second of zone control brings you closer to victory.
-
Scenario 2: The score is close (within 10 points) — This is the most stressful end of match scenario because one good push can flip the result. Coordinate a full squad push into the zone, use smoke grenades to cover your approach, and focus on zone presence over eliminations.
-
Scenario 3: Your team is trailing by 15+ points — You need a miracle, but the Hot Zone is your best chance. If the Hot Zone is active, commit everything to it; if not, try to bait the enemy team into overextending by sending a small decoy force while your main squad flanks the zone.
The final push in any end of match scenario requires clean communication and disciplined execution. Players who panic and scatter usually lose, while squads that stay together and focus on the objective can overcome significant point deficits. According to player experience reports, the most common end of match mistake is abandoning the zone to chase a high-kill enemy, which gives the opposing team uncontested point generation.
As the match clock ticks below the 2-minute mark, the priority list for WARDOGS shifts decisively from map control to reward preservation. Your first strategic move should be securing a defensive position near the extraction zone—ideally the high-ground chokepoint that forces the enemy team to funnel through open sightlines. This matters because WARDOGS end-of-match rewards are tiered: the top 3 finishers by kill count and objective score receive premium salvage crates, while the rest settle for standard supply drops. If you're holding a comfortable lead, stop chasing eliminations and instead camp the extraction pad with a shield drone deployed; the final 30 seconds often see desperate flank attempts, and a single well-timed EMP grenade can neutralize a last-second push that would otherwise flip your placement. Conversely, if you're sitting in 4th or 5th, your priority becomes aggressive repositioning—sacrifice defensive safety to hunt down the 3rd-place player, since overtaking their score by even one confirmed kill at the buzzer upgrades your reward tier.
-
Zone presence over kills — every second inside the zone generates points, and kills outside the zone generate nothing.
-
Vehicle usage — a well-timed vehicle push can break a defensive line, but vehicles also make you a visible target, so use them strategically.
-
Respawn coordination — if your squad is scattered across the map, regroup at a rally point before pushing the zone together.
-
Hot Zone awareness — check the map regularly because the Hot Zone location changes, and missing it can cost you the match.
Match Rewards and Progression Systems
Understanding the WARDOGS match rewards system is essential for building a sustainable WARDOGS first match strategy, because the cash you earn directly funds your loadout and vehicle upgrades. Every match generates rewards based on your performance, and the persistent economy means that helping teammates also profits you, as noted in the PCGamesN impressions article.
The reward structure rewards cooperation because assisting teammates generates income alongside your own kills and objective time. This design encourages players to work together rather than pad their individual stats, and it is a core reason why the WARDOGS community emphasizes teamwork over solo play.
According to community data aggregated from the first week of ranked play, the match reward breakdown is heavily weighted toward win conditions rather than kill count: securing the first flag capture in Phase 1 nets you 1,500 credits, while a full team wipe in the Elimination phase only yields 800. This disparity pushes aggressive early rotations to the flag point, since the credit multiplier from a victory (2.0x) outweighs the raw salvage from extended firefights. For a first match strategy, prioritizing the Uplink console activation over chasing kills is the most efficient path to unlocking loadout upgrades before the mid-game Titan spawn.
| Reward Source | Base Value | Multiplier Conditions | Notes |
|---|---|---|---|
| Zone Control Time | 50 cash per 10 seconds | Hot Zone doubles to 100 | Most reliable income source |
| Kill Confirmation | 25 cash per kill | Squad assist bonus +10 | Encourages team play |
| Vehicle Destroyed | 40 cash per vehicle | None | High risk, high reward |
| Match Victory | 500 cash bonus | None | Only for winning team |
| Match Participation | 200 cash minimum | Scales with match length | Guaranteed income |
The persistent economy means your cash carries over between matches, so even losses generate income that helps you improve your loadout. This is a key difference from games that reset your progress each round, and it makes the WARDOGS game flow feel rewarding even when you lose.
Your loadout choices directly impact your match rewards because better equipment lets you hold the zone longer and win more fights. Prioritize upgrades that improve your survivability and zone control capability, such as armor plating and medical supplies, before investing in cosmetic items. The reward system is designed to funnel you toward effective combat loadouts, and players who ignore this progression loop often struggle in higher-tier matches.
The WARDOGS matchmaking system pairs you with players of similar skill levels, which means your rewards scale with your performance relative to your opponents. If you consistently earn high rewards, the system assumes you are ready for tougher competition, so expect matchmaking to get harder as your income grows.
Frequently Asked Questions
What is the best WARDOGS first match strategy for beginners?
Focus on zone presence above all else, because the team with the most players inside the Control Zone earns points regardless of kill counts. Spawn, grab a vehicle, move to the zone, and stay there while calling out enemy positions. This simple approach generates consistent points and match rewards even if your aim is still developing.
How do WARDOGS match phases work?
Every match has three phases: early game with zone reveal and positioning, mid game with control trading and Hot Zone opportunities, and end of match where the leading team defends while trailing teams push. Each phase requires different tactics, and recognizing which phase you are in helps you make better decisions about aggression versus defense.
What happens at the end of match in WARDOGS?
The match ends when one team reaches 100 points, which typically takes 10-15 minutes depending on how contested the zone is. The winning team receives a 500 cash bonus, while all participants earn base rewards scaled by match length and performance. The end of match screen shows your individual stats and total earnings.
How do I earn more WARDOGS match rewards?
Control the zone for as long as possible, chase the Hot Zone when it appears for double cash, and help teammates secure kills to earn assist bonuses. The persistent economy rewards cooperation, so stick with your squad and focus on objective play rather than solo kills. Victory bonuses also provide a significant cash injection.
Does WARDOGS matchmaking affect my first match experience?
Yes. WARDOGS matchmaking pairs you with similar-skill players, so your first match pits you against other beginners rather than veterans. This gives you space to learn the three-team King of the Hill flow—randomized 2x2km Control Zones and the 100-point win condition—without being overwhelmed, letting you focus on early positioning.