
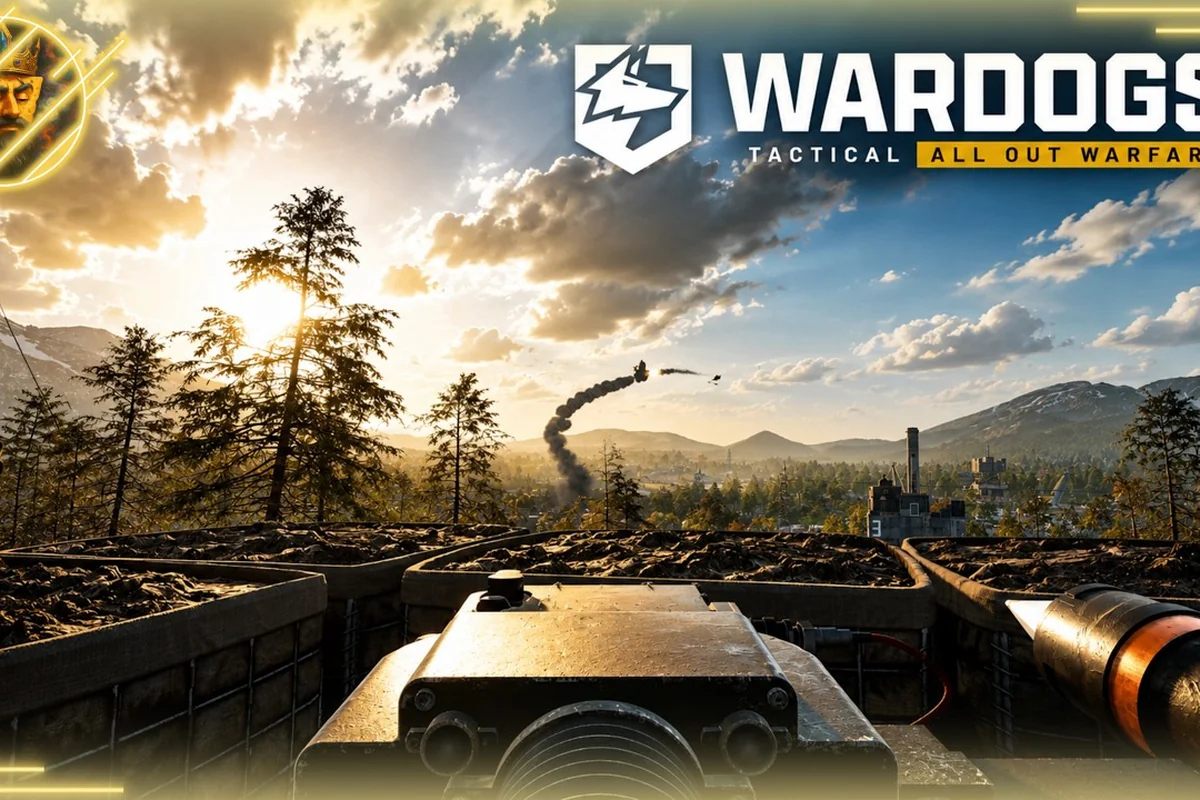
The WARDOGS engineer loadout is the backbone of any serious squad, because it turns raw firepower into a fortified position that can hold a control zone against waves of attackers. While the official class roster on the WARDOGS Steam page lists Infantry, Medic, Pilot, Builder, and Engineer, the engineer stands apart by combining demolition with defensive construction. This role matters because it directly controls the battlefield geometry, deciding which chokepoints stay open and which buildings survive contact with enemy armor. If you want to dominate the Hot Zone and protect your team's cash investment, mastering this loadout is the fastest path to consistent wins.
The WARDOGS Engineer Loadout Core Abilities and Equipment
The engineer's kit revolves around three pillars: structural fortification, explosive demolition, and vehicle repair. Each pillar feeds into the others, creating a loop that rewards players who think two steps ahead of the current firefight. According to community reports from the Steam news posts, the engineer is one of the five official classes referenced by BULKHEAD, alongside Infantry, Medic, Pilot, and Builder, which means its toolkit is designed to complement rather than replace the other specialised squad roles.
| Ability Category | Primary Tool | Secondary Function | Cash Cost Range |
|---|---|---|---|
| Fortification | Sandbag walls | Cover for advancing infantry | Low |
| Demolition | Explosive charges | Breaching enemy FOBs | Medium |
| Vehicle Repair | Repair wrench | Keeping tanks operational | Low |
| Structure Upgrade | Reinforced panels | Upgrading sandbags to bunkers | High |
The repair wrench is your most-used tool because it keeps friendly vehicles alive during prolonged engagements, and a single tank that stays in the fight for three extra minutes can swing the entire match. Your explosive charges serve a dual purpose: they destroy enemy fortifications, but they can also create new sightlines by blasting holes through walls that your snipers can exploit. The sandbag placement system lets you build cover on the fly, though each structure takes a few seconds to fully assemble, leaving you vulnerable during the construction window.
What makes the engineer loadout genuinely powerful is the cash economy loop that surrounds it. Every structure you place that blocks enemy movement, every vehicle you repair that returns to the fight, and every enemy FOB you demolish generates teamplay income, which the official game description confirms rewards decisions, communication, and teamwork. This means a skilled engineer can out-earn a fragging infantry player while simultaneously making the entire squad more effective, which is why the role is so valuable in coordinated team composition.
Building Your Engineer Loadout for Different WARDOGS Squad Roles
Your equipment choices should shift based on what your squad needs most at any given moment, because a loadout that works for a defensive hold on the Industrial map will fail on the open Mountain terrain. The WARDOGS class abilities system allows you to swap between demolition-focused and fortification-focused setups between deaths, so you can adapt to the match flow without sacrificing your cash balance. Understanding when to run which configuration is the difference between an engineer who carries the team and one who wastes resources.
Fortification-First Loadout for Defensive Holds
When your team is defending a control zone against a coordinated push, prioritize reinforced sandbags, ammo crates, and repair tools. This configuration turns a vulnerable capture point into a mini-FOB that can absorb sustained fire while your medics keep the infantry alive. The key is to layer your structures: place sandbags at the outer perimeter to slow the enemy advance, then build a second layer of cover closer to the objective that your team can fall back to if the outer ring breaks.
| Loadout Slot | Defensive Pick | Offensive Pick | Utility Pick |
|---|---|---|---|
| Primary Tool | Reinforced sandbags | Explosive charges | Repair wrench |
| Secondary | Ammo crate | Breaching charges | Signal flare |
| Tertiary | Barbed wire | Remote detonator | Binoculars |
The ammo crate is an underrated piece of the engineer loadout because it lets your squad sustain prolonged firefights without falling back to resupply, which keeps pressure on the enemy and prevents them from reclaiming the zone. When you combine this with the medic tips guide for keeping your team alive, you create a defensive loop that is extremely hard to break. The barbed wire slows enemy infantry just enough for your LMG players to shred them, and it forces enemy engineers to waste their own charges clearing your obstacles.
Demolition-First Loadout for Offensive Breaches
When your team is pushing into a fortified enemy position, swap to explosive charges, remote detonators, and breaching tools. This configuration lets you crack open enemy FOBs and create new attack lanes that bypass their strongest defensive angles. The remote detonator is particularly valuable because it lets you place multiple charges and set them off simultaneously, creating a breach that is too wide for the enemy to cover with a single machine gun nest.
The demolition-first loadout requires more map awareness than the defensive setup, because you need to identify the structural weak points in enemy fortifications before you commit your charges. Community testing suggests that corner joints and door frames take more damage from explosives than flat wall sections, so placing your charges at these points maximizes your breaching efficiency. Once the breach opens, your squad can flood through while the enemy is still recovering from the blast, which is why this loadout pairs so well with aggressive infantry tactics.
WARDOGS Role Synergy and Team Composition Strategies
The engineer loadout reaches its full potential when it operates inside a well-structured team composition, because every other class amplifies what the engineer does best. A pilot can drop you and your fortification materials directly onto a strategic ridge, while a medic keeps you alive during the vulnerable construction window. The WARDOGS role synergy system rewards this kind of coordination, and teams that ignore it will consistently lose to squads that build their composition around complementary abilities.
| Squad Role | Engineer Synergy | Combined Effect |
|---|---|---|
| Medic | Repair + heal | Holding a fortified position indefinitely |
| Pilot | Transport + supply | Rapid FOB construction on any ridge |
| Sniper | Breach + sightline | Creating new firing lanes for precision shots |
| Infantry | Cover + firepower | Overwhelming pushes through breaches |
The forward operating base (FOB) is the centerpiece of engineer-driven team composition, because it gives your squad a permanent spawn point and resupply station that can turn a single control zone into an unbreakable stronghold. According to the official WARDOGS website, building an FOB is one of the core playstyles the developers designed around, and it rewards players who prioritize communication and teamwork over individual fragging. When your engineer builds an FOB in a smart position, the entire squad's effectiveness multiplies because they stop wasting time running back from distant spawn points.
The three-team dynamics in WARDOGS make role synergy even more critical, because you often face two enemy teams who might temporarily cooperate to break your fortifications. Your engineer loadout needs to account for this possibility by building redundant layers of defense that can hold against a two-pronged assault. This means placing your sandbags in a star pattern rather than a single line, so that even if one flank collapses, your team can rotate to the remaining cover without being exposed to crossfire.
Engineer Positioning and Fortification Placement Tactics
Fortifying the Hot Zone: Engineer FOB Builds for Double Cash
Chasing the Hot Zone for double cash is the Engineer's highest-value play, but a rushed FOB is a wasted investment. Prioritize a two-stage build: first, a defensive perimeter of sandbag walls and a single watchtower to secure the area; second, the core FOB structure. This sequencing prevents you from being caught mid-construction by an enemy squad. The double-cash multiplier applies to your team's actions in the zone, so a fortified FOB acts as a force multiplier, allowing your squad to hold the area longer and farm more credits per engagement.
Positioning is the silent half of the engineer loadout, because even the best equipment fails if you place it in the wrong location. The WARDOGS engineer loadout demands that you read the terrain and predict where the enemy will push, then build your defenses to funnel them into kill zones that your squad controls. This is a skill that develops over dozens of matches, but there are a few placement principles that hold true across most maps and scenarios.
High ground placements give your fortifications a massive advantage because they force the enemy to attack uphill while your team fires down from cover. When you build sandbags on a ridge, you create a defensive height advantage that multiplies your squad's effective range and makes it nearly impossible for the enemy to dislodge you without armor support. The Mountain map is the clearest example of this, where the team that controls the high ground ridges typically controls the entire match.
Chokepoint fortification is the second core principle, and it works by placing your structures in narrow passages that the enemy must cross to reach the objective. A well-placed sandbag wall in a building corridor or mountain pass can stop an entire squad's advance, forcing them to either waste time clearing your obstacles or take a longer flanking route that exposes them to your snipers. The key is to leave small gaps in your fortifications that funnel the enemy into predictable lanes, where your machine gunners can pre-aim and shred them as they emerge.
Vehicle repair positioning is the third principle that many engineers overlook, because they focus entirely on defensive structures and forget that their repair wrench is equally valuable. When your team's tank takes damage, you need to be positioned so you can reach it without crossing open ground, which means placing repair cover near the vehicle's expected engagement areas. This is where the logistics role guide becomes relevant, because it covers the broader support ecosystem that the engineer operates within.
Advanced Engineer Loadout Tactics for WARDOGS Specialised Roles
The Cash Economy of Fortification vs. Reviving
The WARDOGS economy forces Engineers to weigh construction costs against teamplay income. While reviving a squadmate earns you immediate cash, a fully built FOB costs a significant upfront investment but provides a long-term defensive asset. For example, spending credits on a fortified chokepoint can prevent multiple deaths, indirectly saving the team more cash than a single revive would net. This creates a strategic loop: build to protect, protect to earn, and use that income to fund more advanced fortifications like artillery tank support for your squad.
Once you master the fundamentals, the engineer loadout opens up a range of advanced tactics that can completely change how your squad approaches a match. These techniques require more coordination and map knowledge, but they reward you with match-winning plays that the enemy cannot easily counter. The WARDOGS specialised roles system is flexible enough to support these creative strategies, and the best teams are constantly experimenting with new combinations.
Fake fortification is a psychological tactic where you build a visible but weak defensive line, baiting the enemy into committing their assault there, then hit them from a hidden flank while they are focused on your decoy. This works because most players react to visible structures by attacking them, and they rarely check for a second, hidden position. The decoy FOB is an extension of this idea, where you build a full base in a low-value location to draw enemy attention away from your real defensive line.
Breach-and-retreat is an offensive tactic that uses your demolition charges to open a breach, then immediately retreats before the enemy can react. This creates confusion in the enemy ranks because they do not know if you are committing to the push or just testing their defenses, and it forces them to split their attention between multiple potential attack lanes. When you combine this with a sniper class covering the breach from distance, you create a denial zone that the enemy cannot safely approach.
Structure recycling is an economic tactic where you deliberately destroy your own fortifications before the enemy can capture them, denying them the cover and the cash value of your structures. This is particularly useful in the late game when the enemy is about to overrun your position, because it prevents them from using your own defenses against you. The cash preservation aspect of this tactic is often overlooked, but it can be the difference between affording a critical vehicle respawn and being stuck on foot for the final push.
Common Engineer Loadout Mistakes and How to Avoid Them
Every engineer makes mistakes when they first start playing the role, and most of these errors come from misunderstanding the WARDOGS class abilities and how they interact with the broader match flow. The most common mistake is overbuilding, where the engineer places so many structures that they actually block their own team's movement and sightlines. This creates frustration among your squad and can cost you the match, because your own fortifications become the biggest obstacle to your attack.
Ignoring the vehicle game is the second major mistake, because many engineers focus entirely on sandbags and forget that repairing friendly vehicles generates significant teamplay income. A single tank that stays in the fight for an extra three minutes can earn you more cash than an entire match of structure placement, and it directly contributes to winning the match. The repair wrench should be in your loadout at all times, even when you are running a demolition-focused configuration.
Poor cash management is the third mistake, and it happens when engineers spend their entire balance on expensive structures that get destroyed within seconds. The WARDOGS team composition works best when the engineer balances their spending between fortifications, repairs, and saving for critical vehicle respawns. Community reports suggest that the best engineers maintain a cash reserve of at least 20% of their balance at all times, so they can respond to unexpected situations without being broke.
Building in the open is the final common mistake, where engineers place structures in positions that expose them to enemy fire during the construction window. This gets you killed repeatedly and wastes your cash, because the structure is destroyed before it is even fully assembled. Always build behind existing cover or use smoke grenades to obscure the enemy's vision while you construct, and you will survive long enough to create the defensive line your team needs.
Frequently Asked Questions
What is the best WARDOGS engineer loadout for beginners?
Start with reinforced sandbags, a repair wrench, and an ammo crate, because this defensive configuration is forgiving and generates consistent teamplay income. Focus on building cover for your squad and repairing friendly vehicles before attempting offensive demolition work. This loadout teaches you the core loop of the engineer role without requiring advanced map knowledge.
How does the engineer class earn cash in WARDOGS?
The engineer earns cash through every structure that blocks enemy movement, every vehicle repair that returns a tank to combat, and every enemy fortification you destroy. Teamplay actions like these are rewarded more generously than individual kills, according to the official game description. This makes the engineer one of the most reliable income-generating roles in the game.
Can the engineer loadout work in solo play?
Yes, but it is significantly less effective without a squad to support. Solo engineers should focus on demolition work and vehicle repair, because these actions generate income without requiring teammates to be effective. Fortification placement is still useful for holding objectives, but you will get more value from explosive breaching when playing without coordination.
How does the engineer interact with the builder class?
The engineer and builder are complementary specialised squad roles, with the builder focusing on large-scale FOB construction while the engineer handles rapid field fortifications and demolition. A team with both roles can establish a permanent base while simultaneously breaching enemy positions. This combination is particularly powerful in the late game when map control becomes critical.
What is the best team composition around the engineer?
Pair the engineer with a medic for sustain, a pilot for rapid transport, and two infantry for firepower. The engineer fortifies chokepoints by building FOBs and repairs vehicles, while the pilot ferries supplies between zones. This flexible core lets you defend, attack, and reposition faster than most opponents.